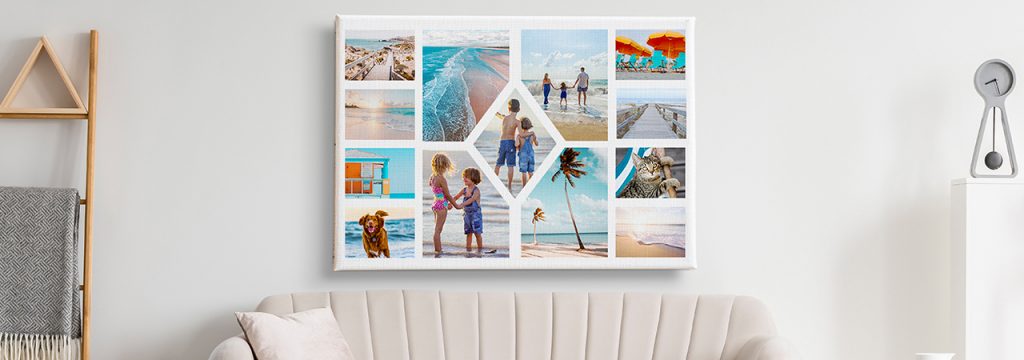
Collage canvases are a wonderful way to tell a meaningful story. But don’t worry if you’ve never done one before, we’re here to help you with our easy step-by-step collage canvas guide. By following our simple instructions and creative tips, you’ll understand how to make the perfect collage canvas in no time at all!
Step 1: Choose Your Template
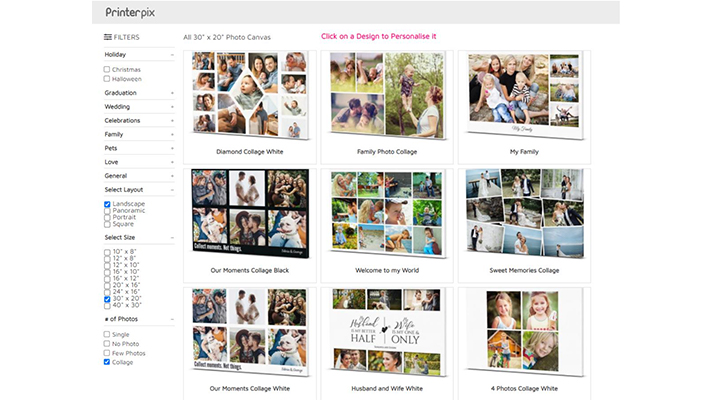
Once you’ve signed in on our website, please select collage canvas under the wall décor category (or just click here). Choose the size of your canvas, then pick a design from our theme selection page. With hundreds of designs made with care by our creative team, there is something for every customer.
Step 2: Upload Your Photos
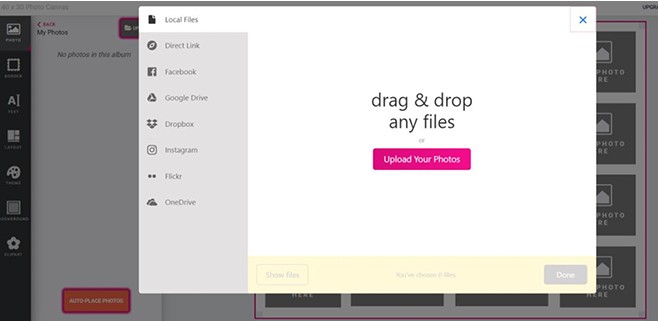
Our sophisticated creation tool will allow you to upload your favourite pictures from your device, your social media, or any online storage space you might have. Choose the theme of your collage canvas, whether that be a holiday you went on, the day of your wedding, pictures of family, or whatever you can imagine. Then, upload however many photos you’d like (we understand the difficulty in choosing only a few snaps!) but make sure you pay attention to the file size: if it’s too small you may get a warning message about the resolution being too low. Our creation tool supports only JPEGs and PNG files, so make sure your images are in the correct format!
Step 3: Tell Your Story
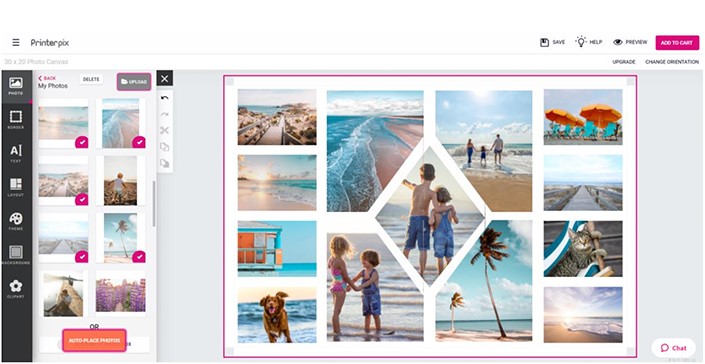
Once all your photos are uploaded, our auto-place tool will arrange your pics on the canvas. Don’t worry if they aren’t exactly where you’d like them to be, you can always swap the photos around, add new photos, and remove old ones to your heart’s content. If one of your images is cropped incorrectly, simply clicking on it will allow you to adjust where it’s been cropped.
This time is when you have the opportunity to show off your creativity and your ability to tell a story through images. As we said earlier, our top tip is to pick a bunch of photos that all fit one theme as a collage image requires consistency to really pop. For example, if you wanted to print a bunch of photos from a holiday, we would recommend choosing as many from the same day as possible to ensure the images have a similar light to them and you’re wearing the same clothes.
Step 4: Editing!
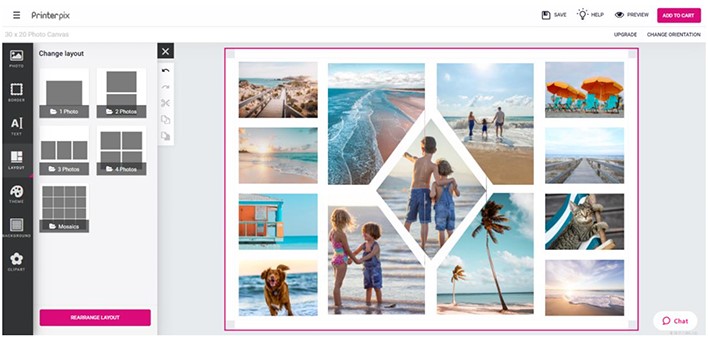
This is the point where you double check every decision you’ve made. When buying a big piece like a collage canvas it’s important to make sure you’re happy with the placement and composition of each photo. Unless you’re 100% certain about the layout & theme, then check on the left side bar on the creation tool in order to reveal all the options and ways you can change your creation. Change the layout, add a border or text, replace a photo with clip-art: unleash your creative side! Don’t forget that you can always change the size of your canvas with a click of the button in the top right.
Step 5: Extras!
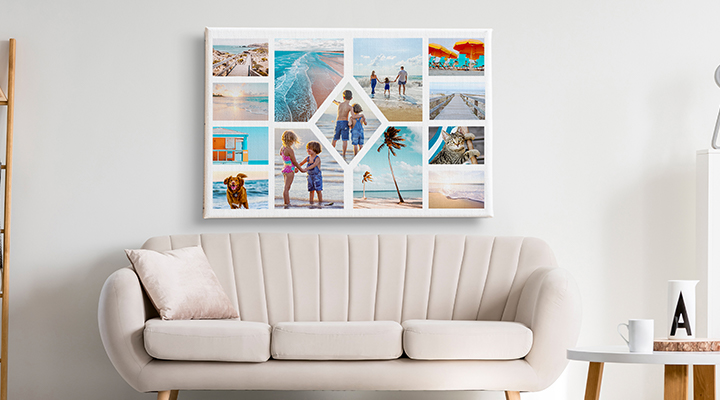
We strongly recommend getting the hanging kit as an extra to ensure that your magnificent creation will stand firmly on your wall for months and years to come. However, there are a few other upgrades available, including higher-quality paper, a thick wooden frame, or a glossy finish. Mix and match to create the perfect collage canvas!
If this article has inspired you to try creating one for yourself, all you need to do is click here!
