
Picture this: a personalised calendar that not only keeps you on top of important events but also adds a splash of personality to your space. Plus, you can showcase your favourite memories, artwork, or inspirational quotes all year long. And the cherry on top? You can start from any month. Let’s go over the easy steps to design your very own personalised calendar with Printerpix.
1. Select Your Photos
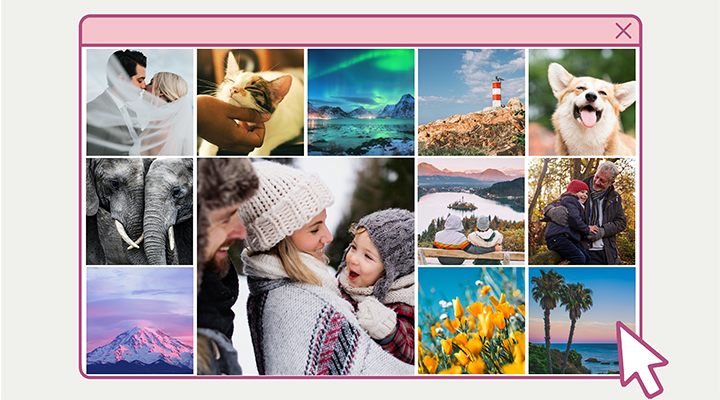
The first step in creating a personalised calendar is to select the photos you want to print. How about a cosy snapshot of you and your family sipping eggnog for December? Or a colourful photo of your blooming garden for April? And of course, for July, you’ll want a fun-filled beach day with your buddies.
2. Select Calendar Type and Size
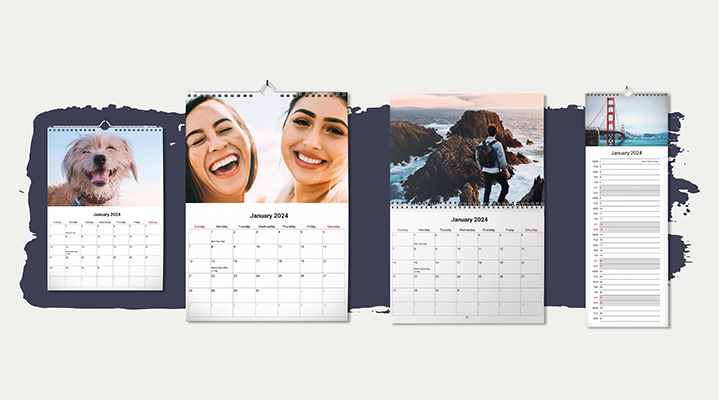
The next step is to choose a calendar type and size that fits your space and matches your style. Each type of calendar has its own unique features and benefits, ensuring that you can find the perfect one for your needs!
- Wall calendars are an excellent choice for displaying your favourite photos or artwork prominently in your home or office. They can serve as both a functional planner and a decorative piece.
- Double calendars give you ample space to jot down appointments and events
- Kitchen calendars are designed specifically for the heart of your home – the kitchen. They help keep your family organised by displaying important dates, appointments, and events in a central location where everyone can see them.
3. Choose a Design
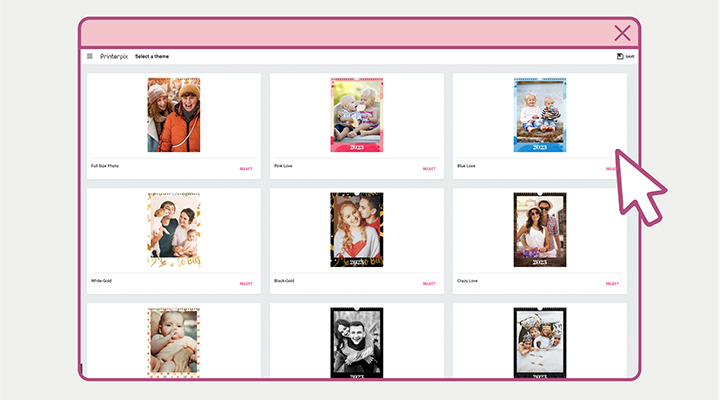
From colourful to minimalist, there’s a variety of unique templates to choose from! Feel free to pick a template that matches the theme of your photos. If you’re creating a personalised calendar filled with your wedding photos, think about going for a clean black & white design. Or, if you’re feeling creative, you can start from scratch and design your very own unique calendar layout.
4. Upload Your Photos
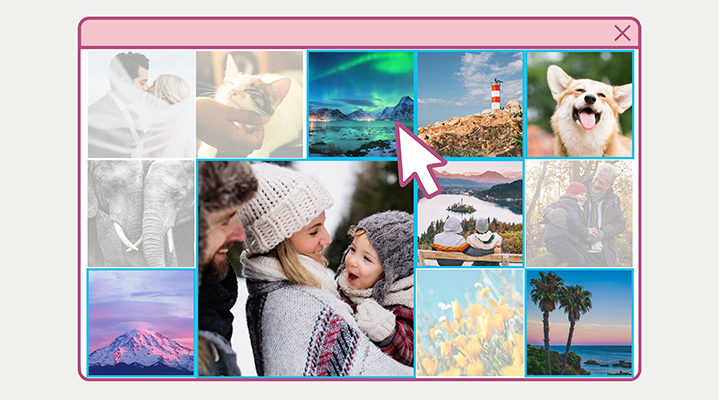
It’s time to upload your photos or artwork! You can easily upload high-resolution images from any mobile or computer device, or even directly from your social media accounts.
5. Customise Your Calendar
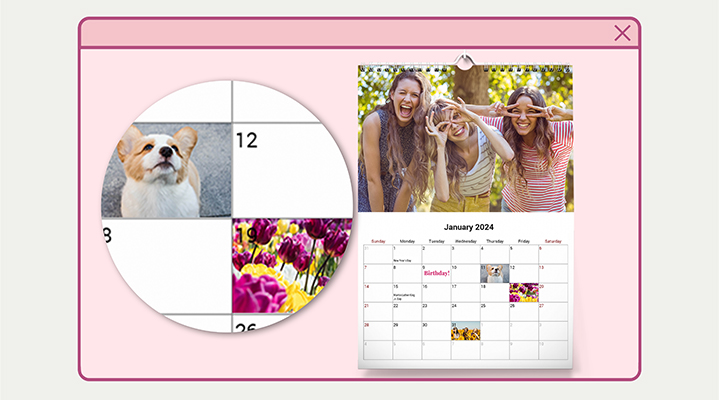
Now that your images are uploaded, it’s time to make your photo calendar even more special. Why not add important dates like birthdays, anniversaries, or milestones? You can also include personal notes or sprinkle some motivational quotes throughout your custom photo calendar. Feel free to play around with the font, colours, and other design elements to create a one-of-a-kind personalised photo calendar worth displaying.
6. Preview and Order
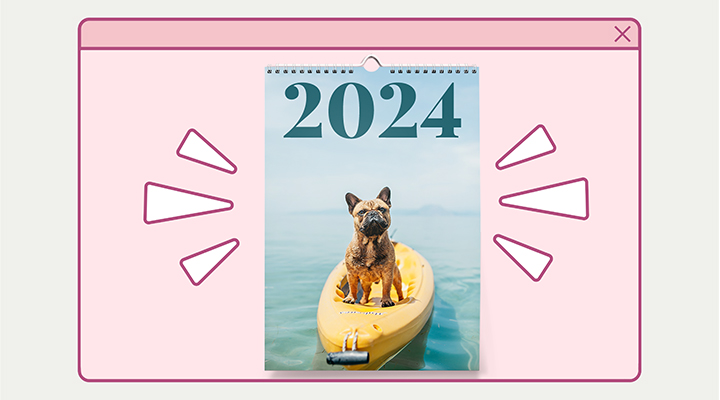
Before placing your order, be sure to preview your personalised calendar to ensure everything looks just right. Double-check the layout, image quality, and any added text or custom dates. If you’re satisfied with your design, proceed to checkout and place your order.
7. Display Your Personalised Calendar!
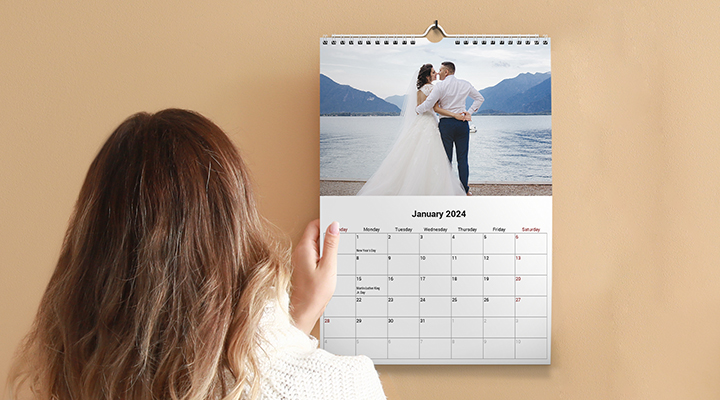
Once your personalised calendar arrives, hang it up or display it proudly in your home or office. Creating a personalised calendar is a fun and easy way to add some flair to your daily routine. Follow these steps, and you’ll have a beautiful custom calendar that you (or someone else) can enjoy all year long!

Need Inspiration?
Check out our Instagram!


